DIY Jesse Tree Ornament Day 4: Abram’s Starry Night

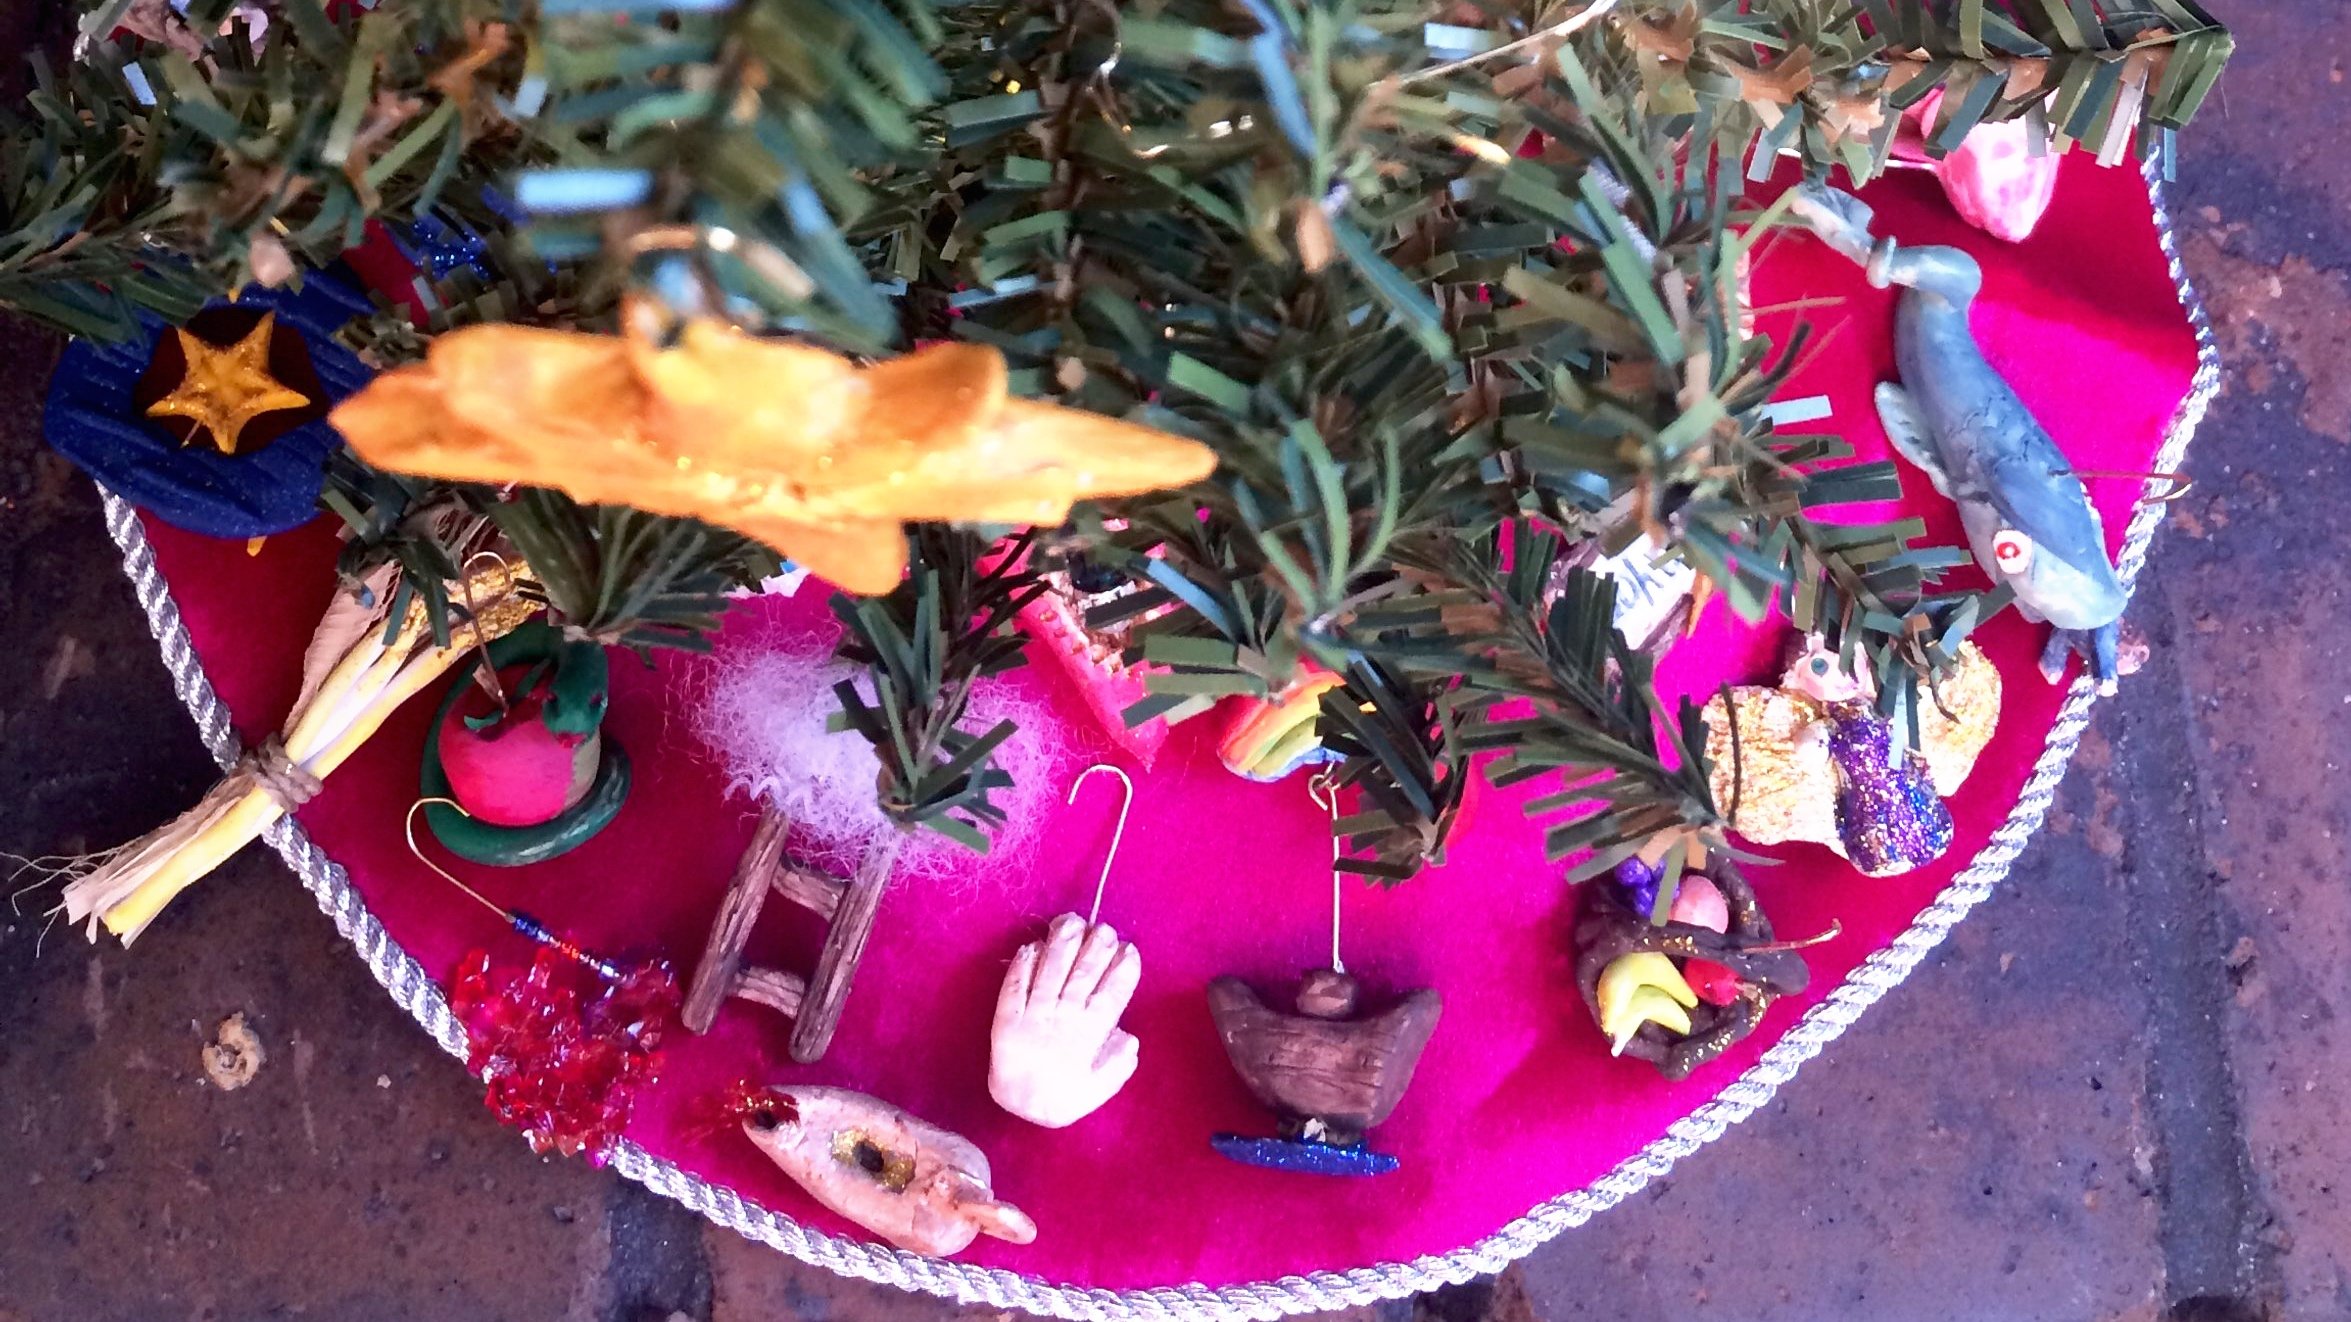
Our Jesse Tree
We’ve been using the Jesse Tree to shape our Advent celebration for almost twenty years. Early on we had only a booklet of daily readings, but over the years we added—creating our own devotional series (that carries through the 12 Days of Christmas!) and crafting ornaments to accompany each day’s reading. Now all six of our children, 20s to tot, eagerly join in the celebration. We use the readings on this website and finish each evening with hanging the day’s Jesse Tree ornament.
Find out more about how we celebrate with so many ages here, or scroll down to get crafting! These ornaments are easy to make, but take a bit of time. At the end, however, you’ll have beautiful keepsakes that can be used year after year.
We made ours extra tiny and store them in little boxes made from leftover Christmas cards.
Jesse Tree Day 4: The Promise to Abram
This starry-night ornament is easier to make than it appears and will delight with lasting beauty.

Day 4: Number the Stars…
God told Abram he would have more descendants than the stars in the sky
What You’ll need
Oven-bake or air-dry clay or salt dough (note: salt dough must be stored in a dry place or it will disintegrate!)*
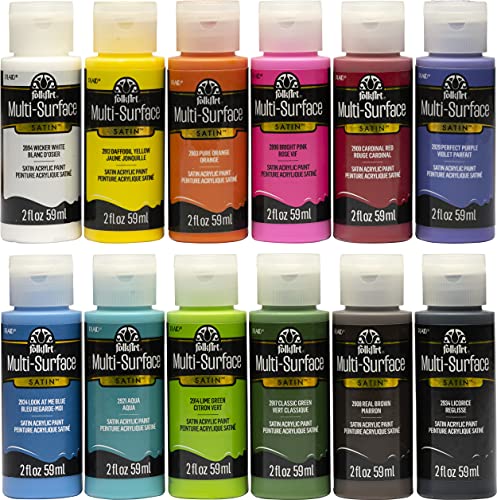
Acrylic paints, glitter, glue
Jewelry-making or needle-nosed pliers
3” Flat-bottomed head pin for hanging
Mini star-shaped cookie cutters (optional)
*I used blue glitter clay for this ornament.
Instructions
1.
Shape a small, flat circle from clay. If your head pin is 3” then make your circle no larger than 2.5”.
2.
Cut out the center from the circle.
3.
Cut a clay star just smaller than the center of your circle. Cut two smaller stars.
4.
Option 1: Lay your star inside your circle and press the head pin into it while flat. Use your finger to smooth the clay over the head pin. Option 2: If you circle and star are thick enough, gently push the head pin through both so the star appears to be suspended in the circle.
5.
Add the decorative stars to the circle, one on each side, and add detail with a toothpick and small rolls of clay “clouds” as desired.
6.
Dry according to package directions.
7.
Paint as desired.
8.
Carefully bend headpin into hook with pliers.

Resources and Links
Find inspiration for other Jesse Tree Ornament designs at our Jesse Tree Pinterest Board.
For simpler ornaments, use one of our Joy of Advent printables (linked below).
We use Sculpey clay and the materials listed below (affiliate links—support our site without adding to your cost).


Discover the Joy of Advent
Would you like to receive our daily, entirely free subscriber-exclusive, Joy of Advent Readings throughout the Advent and Christmas seasons?